SAPUI5 데이터 바인딩 완전 가이드 — Property, Aggregation, Expression Binding
SAPUI5 데이터 바인딩 완전 가이드 — Property, Aggregation, Expression Binding
SAPUI5 데이터 바인딩 완전 가이드 — Property, Aggregation, Expression Binding
SAPUI5 애플리케이션에서 모델(Model)과 뷰(View)를 연결하는 데이터 바인딩은 MVC 아키텍처의 핵심 축입니다. 이 가이드에서는 SAPUI5 1.120 LTS(2025 기준 최신 유지보수 버전) 환경을 기준으로, 바인딩의 원리부터 실전 패턴까지 단계별로 살펴봅니다.
1. 개요 및 학습 목표
데이터 바인딩이란 모델에 저장된 데이터를 UI 컨트롤의 속성, 집합(Aggregation), 또는 표현식과 자동으로 동기화하는 메커니즘입니다. 바인딩을 올바르게 활용하면 수동 DOM 조작 없이도 데이터 변경이 화면에 즉시 반영되므로, 코드 양이 줄고 유지보수가 쉬워집니다.
이 글을 다 읽으면 다음을 할 수 있습니다:
- JSONModel을 생성하고 Property Binding, Element Binding으로 단일 값을 표시할 수 있다
- Aggregation Binding으로 List/Table에 반복 데이터를 렌더링할 수 있다
- Expression Binding으로 조건부 UI 로직을 XML 뷰 안에서 처리할 수 있다
- ODataModel과 Named Model을 활용해 서버 데이터를 바인딩할 수 있다
- One-Way, Two-Way, One-Time 바인딩 모드의 차이를 설명하고 전환할 수 있다
2. 선수 지식
- HTML/CSS/JavaScript 기본 문법
- MVC 패턴에 대한 기초 이해
- SAPUI5 프로젝트 구조(manifest.json, Component.js, XML View)에 대한 경험이 있으면 좋으나, 없어도 코드 예제를 따라갈 수 있습니다
3. 환경 / 버전 / 준비물
| 항목 | 권장 사양 |
|---|---|
| SAPUI5 버전 | 1.120 LTS 이상 (OpenUI5도 동일 API) |
| 개발 도구 | SAP Business Application Studio 또는 VS Code + Fiori Tools 확장 |
| 런타임 | Chrome/Edge 최신 버전 |
| 백엔드(3단계) | OData V2/V4 서비스 — Northwind 샘플 서비스 사용 가능 |
프로젝트를 새로 만들 경우 yo @sap/fiori:project 제너레이터 또는 BAS의 "Start from Template"을 이용하면 manifest.json과 Component.js가 자동 생성됩니다. 이 가이드의 코드는 XML View + Controller 조합을 전제합니다.
4. 핵심 개념
4-1. 바인딩 모드 3가지
바인딩 모드는 데이터가 흐르는 방향을 결정합니다. 수도관에 비유하면 이해가 쉽습니다.
| 모드 | 비유 | 동작 | 대표 사용처 |
|---|---|---|---|
| One-Way | 단방향 파이프 | 모델 변경 → UI 반영. UI 입력은 모델에 전달되지 않음 | 읽기 전용 화면, ODataModel 기본값 |
| Two-Way | 양방향 파이프 | 모델 ↔ UI 양쪽 동기화 | 입력 폼, JSONModel 기본값 |
| One-Time | 스냅샷 사진 | 최초 한 번만 값을 읽고, 이후 변경은 무시 | 초기 설정값, 변하지 않는 레이블 |
JSONModel은 기본적으로 Two-Way, ODataModel V2는 기본적으로 One-Way입니다. 필요에 따라 oModel.setDefaultBindingMode()로 변경할 수 있습니다.
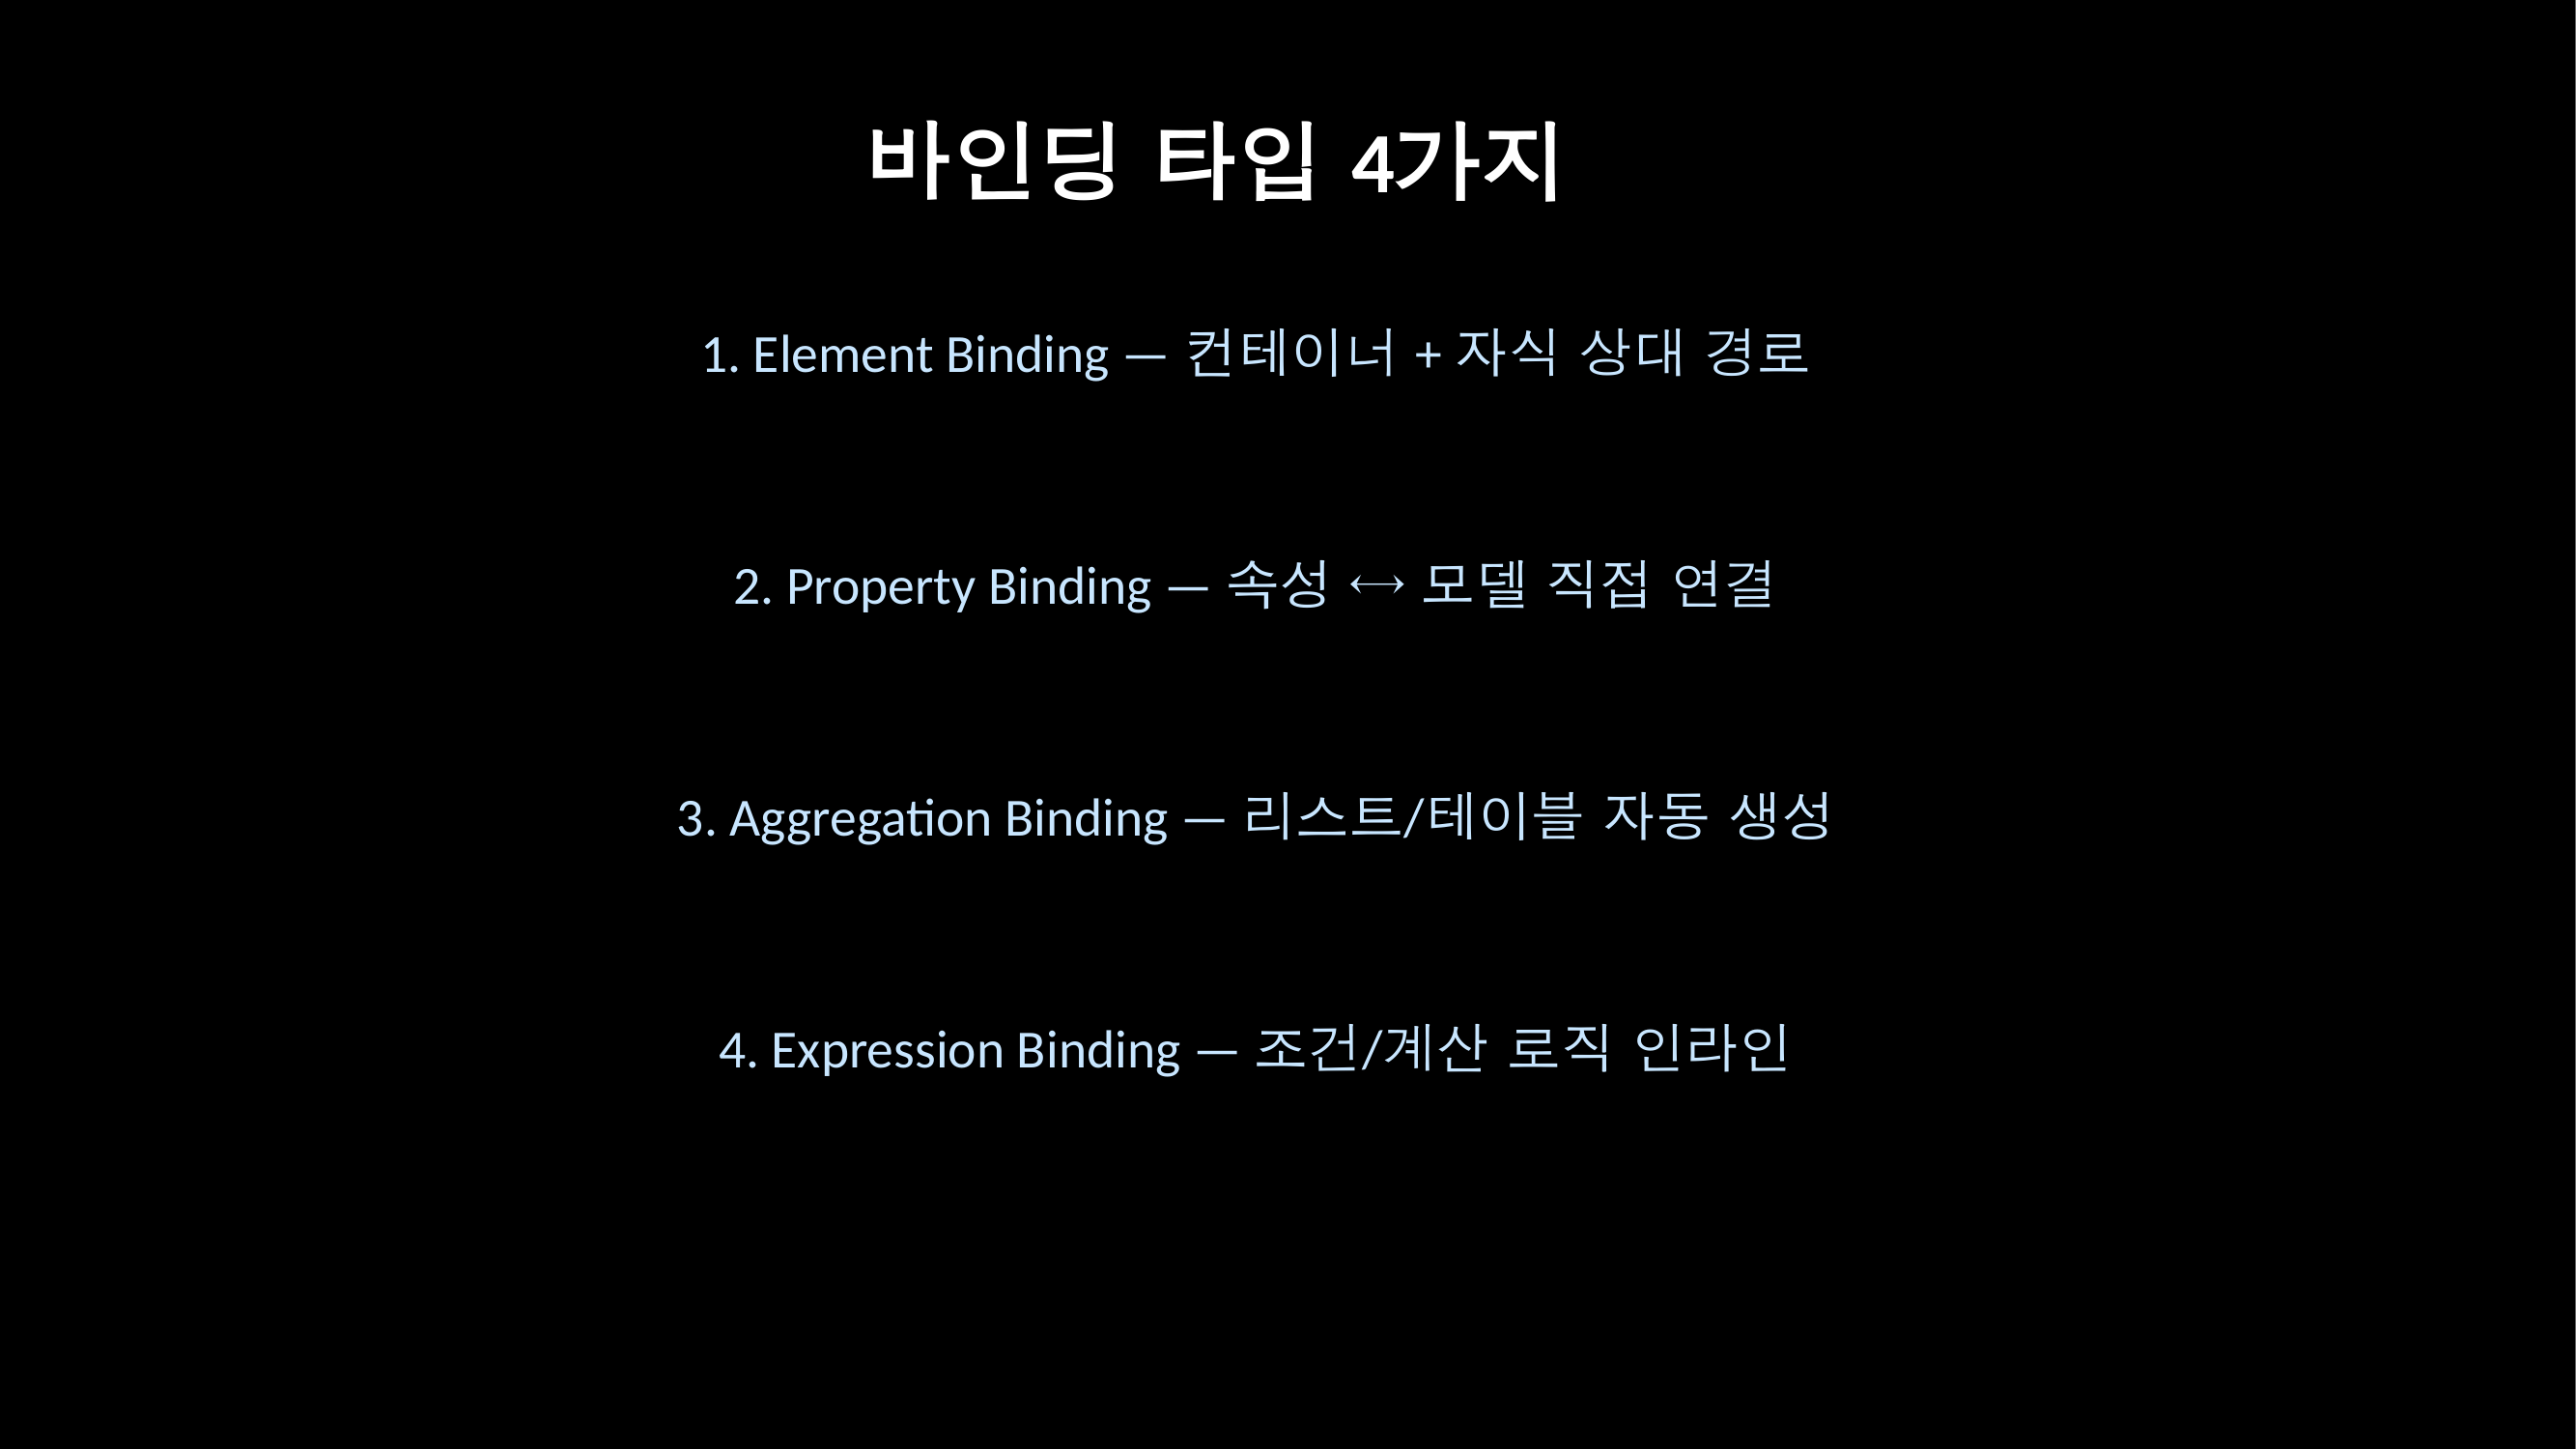
4-2. 바인딩 타입 4가지
SAPUI5에서 바인딩을 거는 대상에 따라 네 가지로 나뉩니다.
- Property Binding — 컨트롤의 단일 속성(value, text, visible 등)에 모델 경로를 연결합니다.
- Element Binding (Context Binding) — 컨트롤 자체에 모델 경로를 지정하여, 하위 컨트롤이 상대 경로로 데이터를 읽을 수 있게 합니다.
- Aggregation Binding — 배열 데이터를 반복 렌더링합니다. List의 items, Table의 rows 등에 사용합니다.
- Expression Binding — XML 뷰 안에서 간단한 JavaScript 표현식을 실행해 조건부 값을 반환합니다.
{= ... }구문을 사용합니다.
4-3. 모델 종류
| 모델 | 데이터 위치 | 기본 바인딩 모드 | 적합한 상황 |
|---|---|---|---|
| JSONModel | 클라이언트(브라우저 메모리) | Two-Way | 소규모 데이터, 로컬 상태 관리 |
| XMLModel | 클라이언트 | Two-Way | XML 형식 데이터 처리 |
| ODataModel (V2/V4) | 서버 | One-Way (V2 기본) | 대규모 데이터, 서버 사이드 정렬/필터/페이징 |
일반적으로 1,000행 이상의 데이터셋은 ODataModel 사용이 권장됩니다. 서버 사이드 페이징과 필터링을 활용하면 대규모 데이터에서 40~60% 수준의 성능 개선을 기대할 수 있습니다. 반면 JSONModel은 브라우저 메모리에 전체 데이터를 보관하므로 경량 데이터에 적합합니다.
5. 실전 코드 3단계
5-1단계: JSONModel + Property Binding + Element Binding
가장 기본적인 시나리오입니다. JSON 데이터를 만들고, 뷰에서 속성 바인딩과 엘리먼트 바인딩으로 표시합니다.
Controller (Main.controller.js)
sap.ui.define([
  "sap/ui/core/mvc/Controller",
  "sap/ui/model/json/JSONModel"
], function (Controller, JSONModel) {
  "use strict";

  return Controller.extend("my.app.controller.Main", {
    onInit: function () {
      // 1) JSONModel 생성 및 데이터 설정
      var oModel = new JSONModel({
        Student: {
          id: "STU-001",
          name: "김민수",
          major: "컴퓨터공학",
          gpa: 3.8
        }
      });

      // 2) 뷰 레벨에 모델 설정
      this.getView().setModel(oModel);
    }
  });
});
View (Main.view.xml)
<mvc:View
  controllerName="my.app.controller.Main"
  xmlns:mvc="sap.ui.core.mvc"
  xmlns="sap.m"
  xmlns:l="sap.ui.layout">

  <!-- Element Binding: VerticalLayout 전체에 /Student 경로를 바인딩 -->
  <l:VerticalLayout binding="{/Student}">

    <!-- Property Binding: 상대 경로로 각 속성에 접근 -->
    <Label text="학번" />
    <Text text="{id}" />

    <Label text="이름" />
    <Input value="{name}" />

    <Label text="전공" />
    <Text text="{major}" />

    <Label text="학점" />
    <Text text="{gpa}" />
  </l:VerticalLayout>

</mvc:View>
동작 원리: binding="{/Student}"가 Element Binding이며, 레이아웃 하위의 {id}, {name} 등은 /Student를 기준으로 한 상대 경로 Property Binding입니다. JSONModel은 기본 Two-Way이므로, Input에 값을 입력하면 모델의 /Student/name이 자동으로 갱신됩니다.
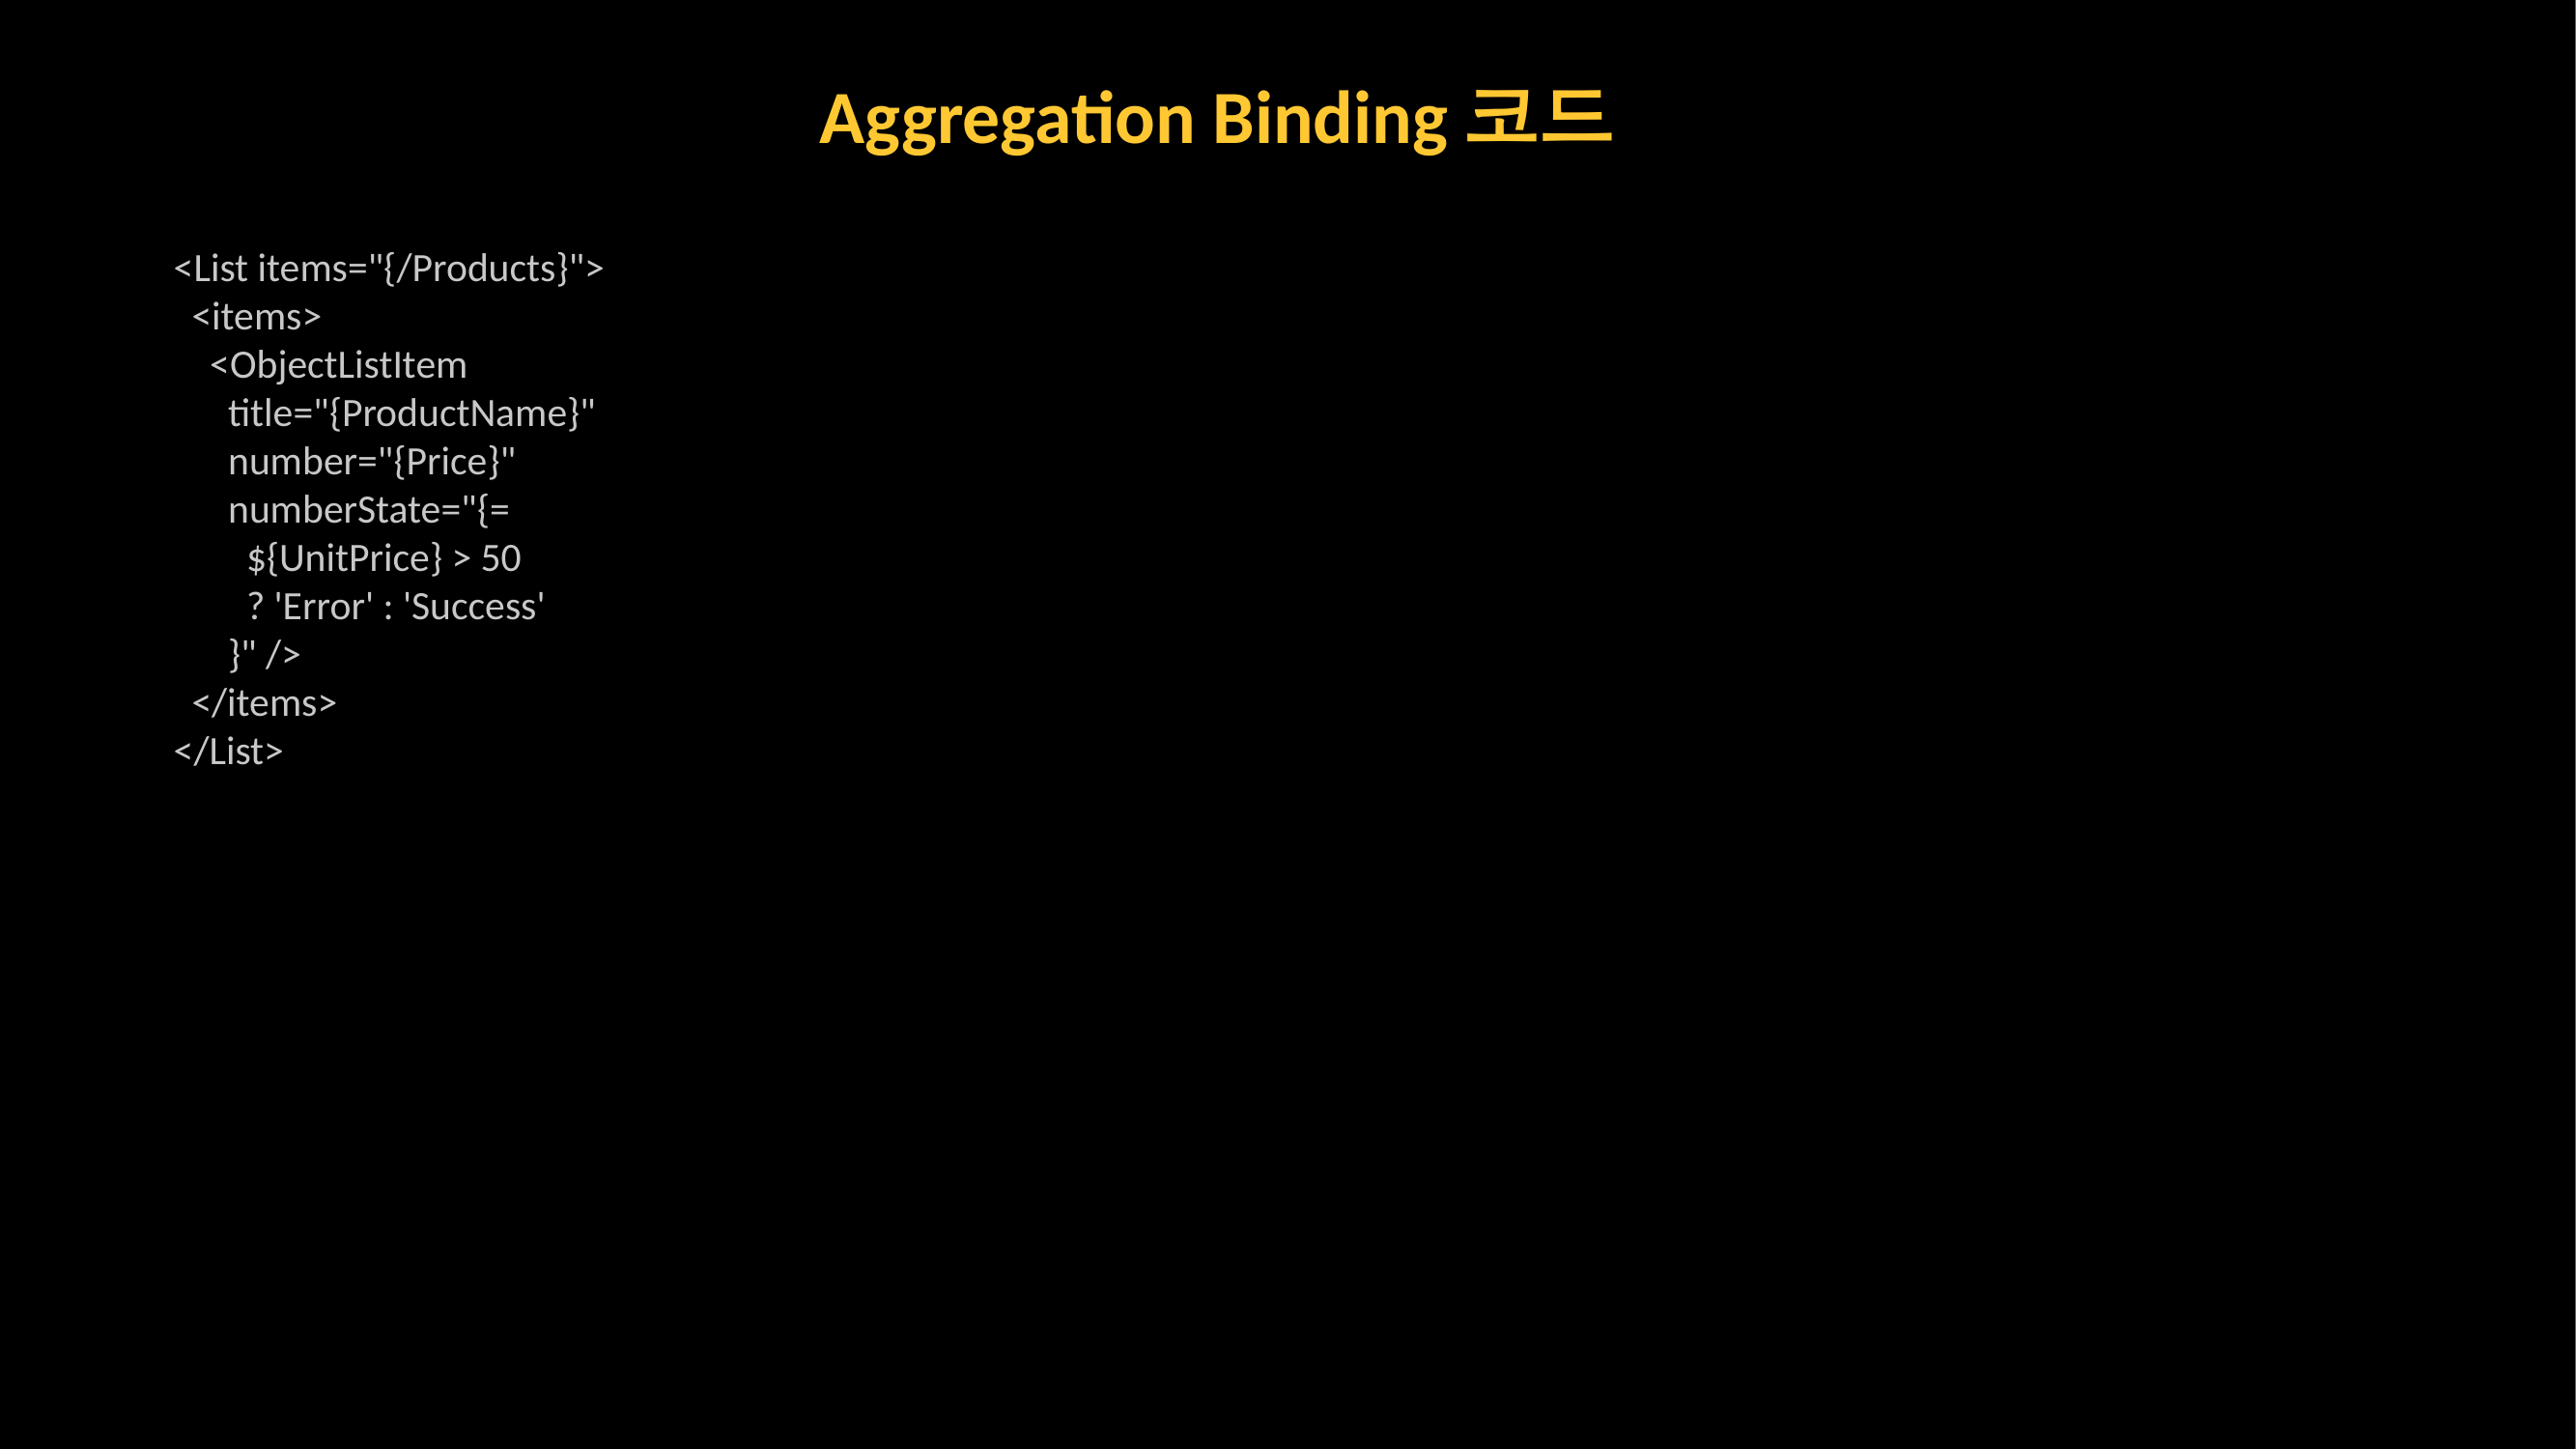
5-2단계: Aggregation Binding (List + Table 템플릿, Factory)
배열 데이터를 반복 렌더링하는 Aggregation Binding을 실습합니다.
Controller에 배열 데이터 추가
onInit: function () {
  var oModel = new JSONModel({
    Products: [
      { ProductName: "노트북",   UnitPrice: 1200, Category: "전자기기" },
      { ProductName: "마우스",   UnitPrice: 25,   Category: "주변기기" },
      { ProductName: "모니터",   UnitPrice: 450,  Category: "전자기기" },
      { ProductName: "키보드",   UnitPrice: 80,   Category: "주변기기" },
      { ProductName: "서버랙",   UnitPrice: 3500, Category: "인프라" }
    ]
  });
  this.getView().setModel(oModel, "product");  // Named Model
}
XML 템플릿 방식 — List
<List
  headerText="제품 목록"
  items="{product>/Products}">
  <items>
    <ObjectListItem
      title="{product>ProductName}"
      number="{product>UnitPrice}"
      numberUnit="USD" />
  </items>
</List>
XML 템플릿 방식 — Table
<Table items="{product>/Products}">
  <columns>
    <Column><Text text="제품명" /></Column>
    <Column><Text text="가격" /></Column>
    <Column><Text text="카테고리" /></Column>
  </columns>
  <items>
    <ColumnListItem>
      <Text text="{product>ProductName}" />
      <Text text="{product>UnitPrice}" />
      <Text text="{product>Category}" />
    </ColumnListItem>
  </items>
</Table>
Factory 함수 방식 — 조건에 따라 서로 다른 컨트롤을 생성해야 할 때 사용합니다.
// Controller 내부
productFactory: function (sId, oContext) {
  var iPrice = oContext.getProperty("UnitPrice");

  if (iPrice > 1000) {
    // 고가 제품: ObjectListItem에 강조 표시
    return new sap.m.ObjectListItem(sId, {
      title: "{product>ProductName}",
      number: "{product>UnitPrice}",
      numberState: "Error",
      numberUnit: "USD"
    });
  }
  // 일반 제품: StandardListItem
  return new sap.m.StandardListItem(sId, {
    title: "{product>ProductName}",
    description: "{product>UnitPrice} USD"
  });
}
<!-- View에서 factory 속성 사용 -->
<List
headerText="제품 목록 (Factory)"
items="{
path: 'product>/Products',
factory: '.productFactory'
}" />참고: Aggregation Binding 시 기본 리스트 크기 제한이 100건인 경우가 있으므로, 대량 데이터에서는 items 바인딩에 length 파라미터를 확인하거나 growing/growingThreshold 속성을 활용하세요.
5-3단계: Expression Binding + ODataModel + Named Model + 바인딩 모드 제어
Expression Binding은 XML 뷰 안에서 삼항 연산, 비교, 문자열 연결 등 간단한 로직을 수행합니다.
<!-- 가격에 따라 상태 색상 변경 -->
<ObjectListItem
  title="{product>ProductName}"
  number="{product>UnitPrice}"
  numberState="{= ${product>UnitPrice} > 500 ? 'Error' : 'Success' }"
  numberUnit="USD" />

<!-- 재고 여부에 따라 버튼 활성화 -->
<Button
  text="주문하기"
  enabled="{= ${product>Stock} > 0 }" />

<!-- 문자열 결합 -->
<Text text="{= '총 금액: ' + ${product>UnitPrice} + ' USD'}" />
ODataModel 설정 (manifest.json)
{
  "sap.app": {
    "dataSources": {
      "mainService": {
        "uri": "/sap/opu/odata/sap/ZPRODUCT_SRV/",
        "type": "OData",
        "settings": {
          "odataVersion": "2.0"
        }
      }
    }
  },
  "sap.ui5": {
    "models": {
      "": {
        "dataSource": "mainService",
        "settings": {
          "defaultBindingMode": "TwoWay",
          "useBatch": true
        }
      },
      "local": {
        "type": "sap.ui.model.json.JSONModel",
        "settings": {
          "data": { "editMode": false }
        }
      }
    }
  }
}
위 설정에서 이름이 없는 모델("")은 ODataModel이고, "local"은 JSONModel입니다. 뷰에서는 다음과 같이 구분합니다:
<!-- 기본(이름없는) 모델: OData -->
<Input value="{/Products('001')/ProductName}" />

<!-- Named Model: local -->
<Button visible="{local>/editMode}" text="저장" />
바인딩 모드를 런타임에서 제어하기
// 모델 전체의 기본 바인딩 모드 변경
var oModel = this.getView().getModel();
oModel.setDefaultBindingMode(
  sap.ui.model.BindingMode.OneWay
);

// 개별 Property Binding의 모드 지정 (XML)
// <Input value="{path: '/name', mode: 'OneWay'}" />
모델 레벨 설정은 코어, 뷰, 컨트롤 순서로 적용 범위가 좁아집니다. 코어 레벨에 설정하면 앱 전체에, 컨트롤 레벨에 설정하면 해당 컨트롤에만 영향을 줍니다.
// 코어 레벨 (앱 전체)
sap.ui.getCore().setModel(oGlobalModel);

// 뷰 레벨 (해당 뷰 내부)
this.getView().setModel(oViewModel, "view");

// 컨트롤 레벨 (특정 컨트롤만)
this.byId("myInput").setModel(oSpecialModel);
6. 흔한 실수 / 트러블슈팅
Q1. 바인딩 경로를 올바르게 적었는데 화면에 아무것도 나오지 않습니다.
Named Model을 사용할 경우 경로 앞에 모델 이름을 반드시 붙여야 합니다. 예를 들어 setModel(oModel, "product")로 설정했다면 뷰에서는 {product>/Products}처럼 접두사를 사용해야 합니다. 이름 없이 {/Products}로 쓰면 기본 모델에서 경로를 찾으므로 값이 표시되지 않습니다.
Q2. Aggregation Binding에서 데이터가 100건만 나옵니다.
ODataModel의 기본 페이지 크기($top)나 List 컨트롤의 기본 제한이 원인일 수 있습니다. List/Table에 growing="true", growingThreshold="200" 속성을 추가하거나, OData 서비스의 $top 파라미터를 조정하세요. 대량 데이터(1,000행 이상)에서는 JSONModel 대신 ODataModel 사용이 권장됩니다.
Q3. Two-Way Binding인데 Input 변경이 모델에 반영되지 않습니다.
ODataModel V2의 기본 바인딩 모드는 One-Way입니다. manifest.json에서 "defaultBindingMode": "TwoWay"를 명시적으로 설정하거나, 컨트롤러에서 oModel.setDefaultBindingMode(sap.ui.model.BindingMode.TwoWay)를 호출하세요.
Q4. Expression Binding에서 syntax error가 발생합니다.
Expression Binding 내부에서 모델 값을 참조할 때는 반드시 ${경로} 형태를 사용해야 합니다. 예: {= ${product>UnitPrice} > 50 }. 또한 Expression Binding은 간단한 표현식만 지원하며, 복잡한 로직은 Formatter 함수를 사용하는 것이 일반적입니다.
Q5. Element Binding 설정 후 하위 컨트롤에서 절대 경로를 쓰면 어떻게 되나요?
절대 경로({/Student/name})는 Element Binding의 컨텍스트를 무시하고 모델 루트에서 탐색합니다. Element Binding의 이점을 활용하려면 상대 경로({name})를 사용하세요.
7. 다음 단계 / 관련 주제
데이터 바인딩의 기초를 익혔다면, 다음 주제로 확장해 보세요:
- Formatter와 Custom Type — Expression Binding보다 복잡한 변환 로직이 필요할 때
formatter속성이나sap.ui.model.SimpleType을 확장하여 커스텀 타입을 만들 수 있습니다. - Sorting, Filtering, Grouping — Aggregation Binding에
sap.ui.model.Sorter와sap.ui.model.Filter를 결합하면 클라이언트/서버 양쪽에서 데이터 정렬과 필터링이 가능합니다. - OData V4 Model — V2 대비 배치 요청 관리, 자동 데이터 동기화 등이 개선된 V4 모델로의 마이그레이션을 검토해 보세요.
- Computed Annotation과 CDS View — 백엔드에서 CDS View 어노테이션으로 UI 메타데이터를 정의하고, Fiori Elements와 결합하면 바인딩 코드 없이도 UI를 생성할 수 있습니다.
8. 참고 자료
⚠️ 비공식 콘텐츠 안내
본 게시글은 btpstacks.com의 독립 학습 콘텐츠이며 SAP SE와 무관합니다. 공식 문서는 help.sap.com을 참고하세요.
SAP, ABAP, SAP BTP, SAPUI5, SAP Fiori는 독일 및 기타 국가에서 SAP SE의 상표 또는 등록상표입니다.
댓글 0
아직 댓글이 없습니다.